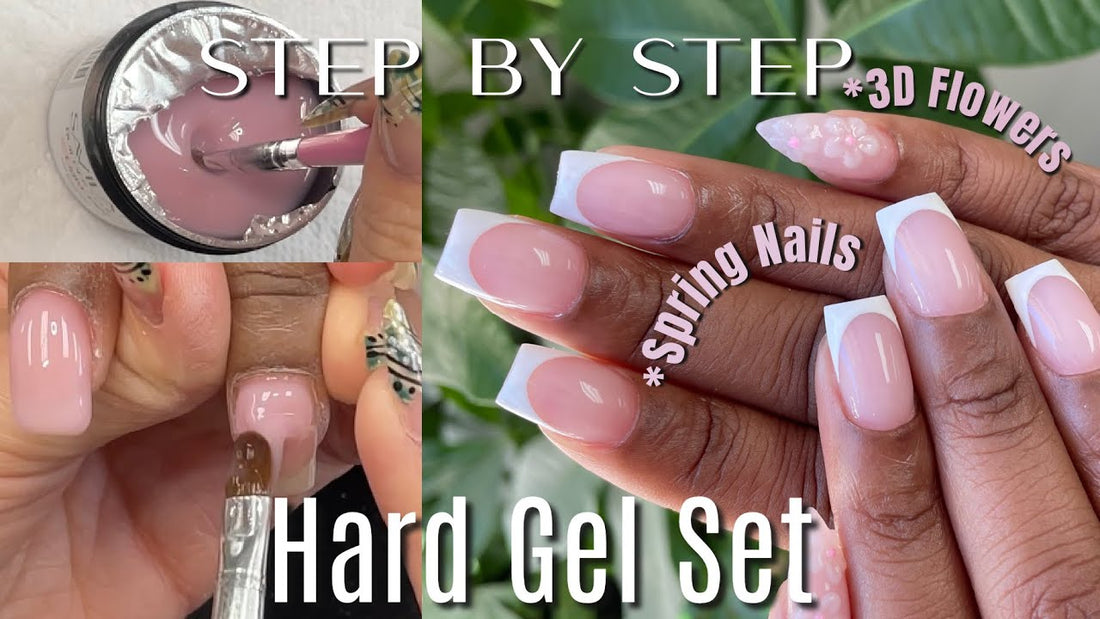
Step-by-Step Guide to a Full Hard Gel Set with French Tips and 3D Spring Flowers
In this tutorial, I’ll guide you through the process of creating a full hard gel set with French tips and cute 3D flowers on the pinky. From prepping the nails to applying gel and finishing with a stunning design, you'll learn essential techniques to create a flawless set with spring-inspired art.
Step 1: Nail Shaping
Start by shaping the nails with a natural nail file to achieve a tapered square shape. Use a higher grit file (240 or higher) to avoid damaging the natural nail. Shape the pinky into a stiletto as requested.
Step 2: Product Removal
Remove any remaining product from the nails with a sanding band. Apply light pressure to remove any excess, focusing on the nail's free edge and cuticle area without over-filing.
Step 3: Cuticle Care
Use a cuticle bit to remove dead skin from the nail plate, ensuring a clean base for better gel adhesion. Dust off the nails and clean them with 90% alcohol using a manicure brush.
Step 4: Tip Application (Pinky Nail)
For the pinky nail, apply a tip to elongate the nail and create a stiletto shape. Trim the tip to match the desired length before continuing.
Step 5: Base Coat Application
Apply a thin base coat to all nails, covering both the natural nail and any tips. For hard gel, make sure the entire nail is coated with base coat for proper adhesion.
Step 6: Hard Gel Application
Apply a slip layer of hard gel to each nail. Follow with a larger bead of gel at the cuticle area, gently floating it down the nail. Avoid over-pressing and use light feathery movements to spread the gel evenly.
Step 7: Curing and Shaping
After curing the gel, use a fine safety bit or a 100/100 grit file to shape the nails and perfect their contours. Be careful not to file too aggressively to preserve the nail's natural thickness.
Step 8: French Tip Design
Using a liner brush, carefully paint the French tips with white gel polish. Make sure to create smooth lines at the tips of the nails for a crisp, elegant look.
Step 9: 3D Flower Creation
For the 3D flowers, pick up a tiny bead of acrylic and allow it to slightly harden. Shape the petals by making small cuts at the bottom and creating a star-shaped design. Add rhinestones or a small pink dot in the center for added flair.
Step 10: Finishing Touches
After curing the flowers and French tips, apply a non-wipe top coat for a glossy finish. Hydrate the cuticles with oil and give the nails a final touch-up to ensure a flawless, hydrated look.