Perfect At-Home Hair Bleaching Routine (Minimal Damage & Pro Tips)
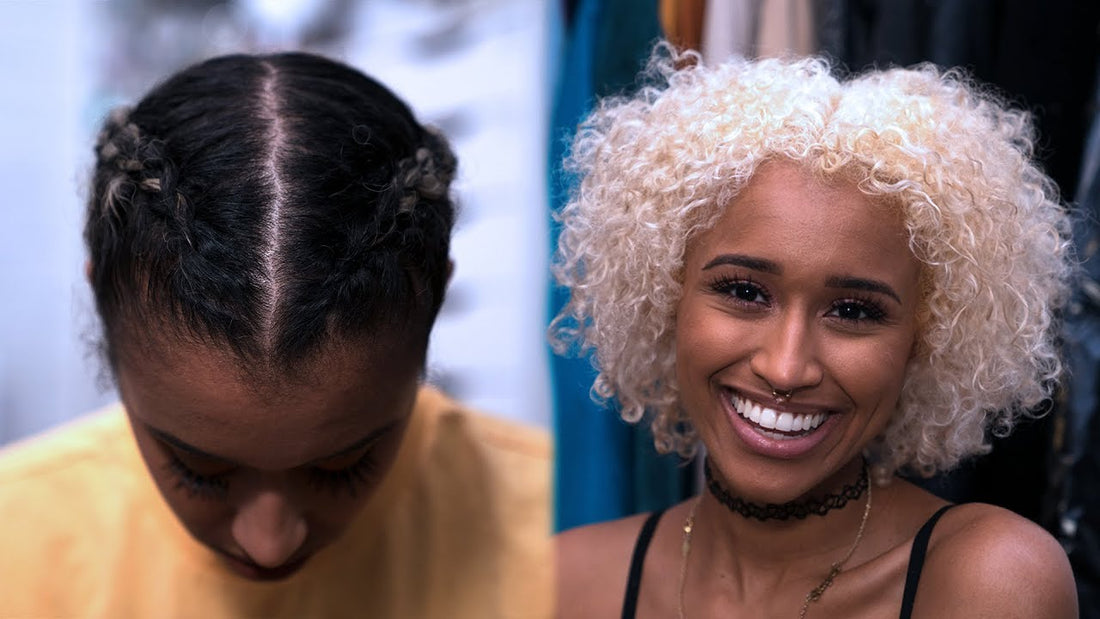
Camille shares her refined, science-backed at-home hair bleaching process after years of trial and error. This multi-day guide balances effective lightening with minimal hair damage, using precise product ratios, strategic hair prep, and restorative treatments. Ideal for curly or thick hair types, the tutorial walks through moisturizing, sectioning, bleaching, and repair — all designed to maintain hair health while achieving vibrant results.
Day 1: Prep & Moisturize
-
Wash and detangle your hair to remove product buildup.
-
Apply a light leave-in conditioner (like Aussie 3 Minute Miracle Deep) for moisture and protection.
-
Dutch braid your damp hair — it helps keep it detangled, manageable, and pre-parted for bleaching.
-
Leave braids in overnight to allow conditioner to soak in and prep the hair texture for sectioning.
Day 2: First Bleaching Session
-
Remove braids, section your hair (save delicate areas like your hairline and nape for last).
-
Mix bleach by weight: 1 oz bleach to 2.5 oz developer (35 vol), add bond protector (like Ion Absolute Perfection Step 1).
-
Apply bleach starting at the back, working forward in small sections. Spread by hand, not brush, for curly hair.
-
Protect ends with keratin treatment, cover hair with a plastic bag to trap heat, and let process for ~14 minutes.
-
Rinse with water only, apply Ion Step 2 bond treatment, and leave it in (ideally overnight).
Day 3: Second Bleaching Round & Recovery
-
Repeat the same bleaching process on remaining roots, switching sides for evenness. Rinse, apply bond and protein treatments, and style gently. Skip toning if dyeing with warm colors later.