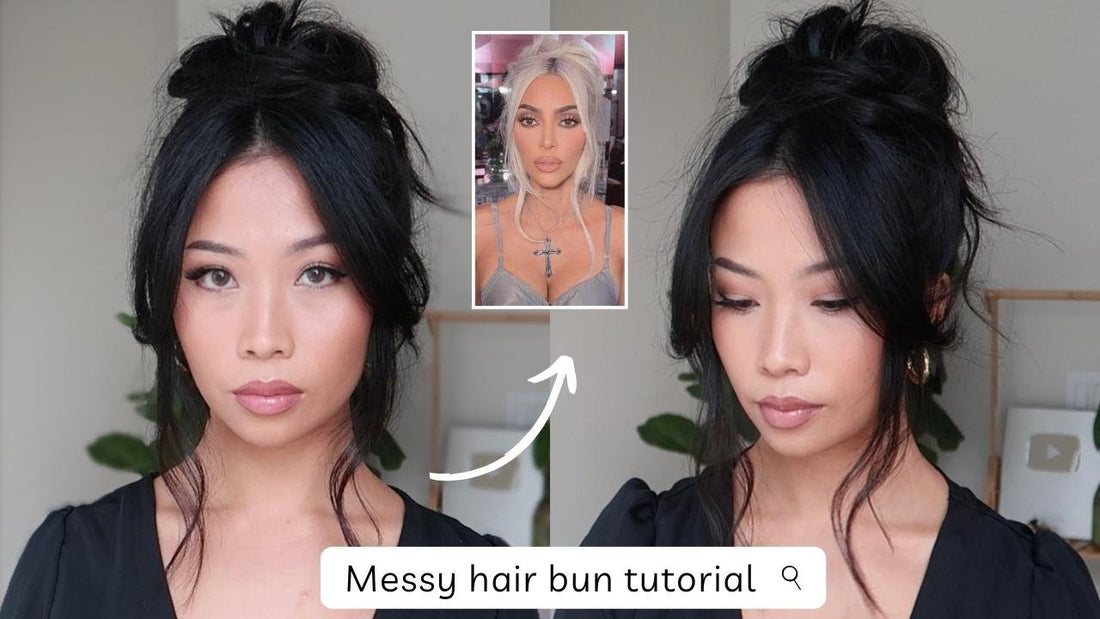
Messy but Classy Updo with Soft Bangs – 10-Step Tutorial
This tutorial walks you through how to create a chic yet relaxed messy updo with soft, inward-curled bangs. Perfect for slightly oily hair and suitable for casual to semi-formal looks, this hairstyle uses curling techniques for volume and texture, finished off with gentle bun sculpting and light styling products for hold and flair.
-
Curl Your Hair for Texture
Use a straightener (or curling iron) to curl your hair in alternating directions—toward and away from your face—for a textured, voluminous base. -
Separate the Bangs Area
Before curling the top section, part out your bangs and a few extra strands to frame the face later. Pin them aside with bobby pins. -
Finish Curling the Rest
Continue curling the remaining hair. Don’t worry about perfect curls—they’ll contribute to the effortless look later. -
Rough It Up & Add Hairspray
Gently tousle the curls with your hands to break them up, then spritz on some hairspray or texture spray for hold. -
Create a Loose Ponytail
Gather your hair into a high ponytail using just your fingers—don’t smooth it too much. Leave it a little undone for that “messy” effect. -
Lift for Volume
Gently tug the top sections of the ponytail upward and forward to boost volume and make the bun sit high. -
Mold the Bun
Wrap sections of the ponytail across each other in opposite directions and secure with bobby pins. Play around with the shape until it looks right. -
Shape from the Back
Take pieces from the back of the bun and pin them forward for balance. Leave it a bit messy—don’t overdo the pinning. -
Style the Bangs
Curl shorter bangs backward and roll them in a hair roller. For longer front strands, do a quick curl and finger-comb for a light, airy finish. -
Final Touches
Release the bangs, shape them to frame your face, and add dry shampoo if needed. Finish with hairspray to hold the whole look in place.